Using iZip for Mac OS X

Installing i-zip on a Mac, and creating an encrypted container

Download iZip

Please note that iZip is only available for Intel based macs running 10.6 (Snow Leopard) or newer. You can download iZip via the Mac App Store or at the manufacturer's website:

Creating an archive

When you launch iZip it should open a welcome screen. Note: If this is the first time you installed iZip, you will see a configuration screen where you can set iZip as the default program to handle .zip files (recommended).


From the welcome screen, click “Create Archive”.

iZip screenshot

Click "Specify name" and a location to save your archive (such as Desktop), then click “Next”.


IZip screen

At the extra compression screen, do not tick the checkbox (enabling this will produce a non-standard zip file). Only click "Next".

iZip screenshot

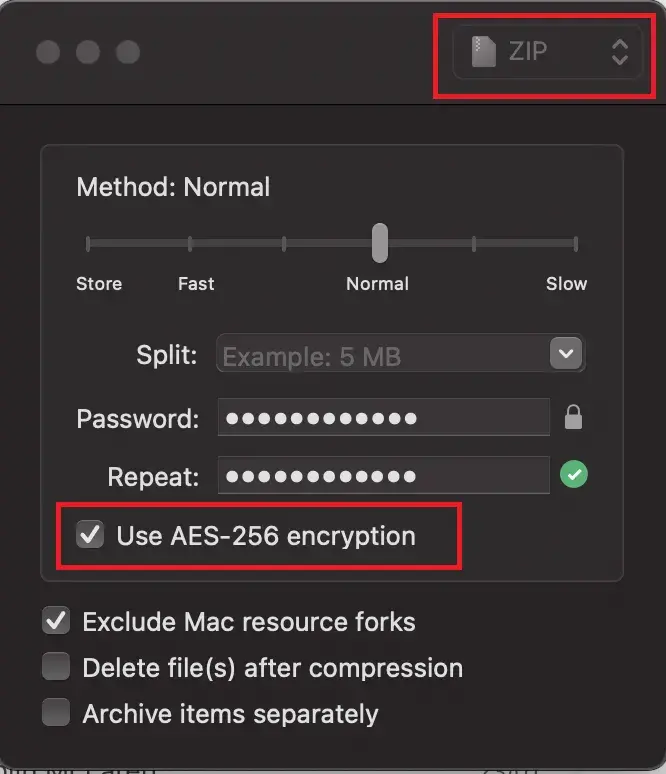
Click the box to “Enable password protection” then enter a password for the archive, this should be a unique password. Note: please see Related Links at the bottom of this page for a guide to secure passwords. Then click "Next"

iZip Screenshot

For encryption “AES 256 bit (most secure, slower)” should be selected by default, if not select it and click “Next”.

iZip Screenshot 2

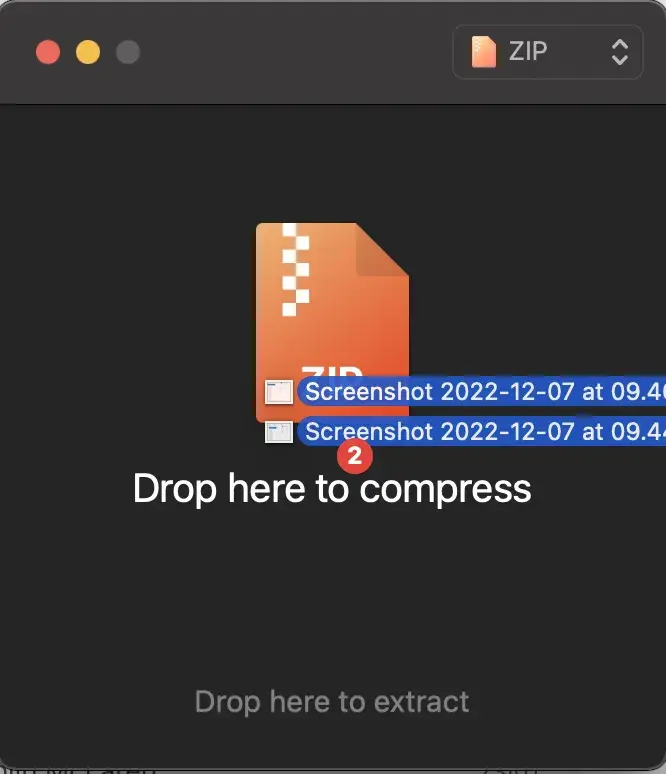
Click the “+” to add content to your archive. You can add files or folders. When you are finished adding content click “Next”.

iZip will display a summary for your archive, click “Next”. A success message is displayed. Click “Next” again. The encrypted archive has been created and is ready to send via e-mail attachment.

Never send the password to an archive in the same email as the attachment. Ideally do not send via email at all, but transmit via a phonecall or written letter.

iZip Screenshot 3

Extracting from an archive

If iZip is the default program for opening .zip files, double-click the .zip file in the Finder.

If iZip is not the default program for opening .zip files, CTRL-click or right-click the file and select “Open with” and “iZip”.

iZip opens the archive. It may by default assume you want to add new files to it and if you are being asked for a new password for the new files, simply click “No password”.

iZip now mounts the archive and displays the contents in a Finder window.

iZip screenshot

When you click to open a file, iZip will prompt for the password. Once you type in the password the file will open.

izip screenshot

Related Links

Choosing a good password